Most teachers would agree that every student is unique and, therefore, has their own way of learning. However, teachers have a limited amount of time and resources to implement their lessons. So, how do we balance meeting students’ varying needs while managing restraints on our time and ability to provide support? Scaffolding is a teaching tool that helps students develop critical-thinking skills and learn independently in a way that makes sense to them.
A few strategies that you can begin implementing in your own classroom include:
-
Gauge what students already know. Begin a lesson or unit by asking some “starter questions” that are unique or may intrigue the students. Often, using ‘did you know’ facts or other questions that grab students’ attention are great ways to do this. This also allows for students to contribute information about their own experiences to make lessons relevant.
-
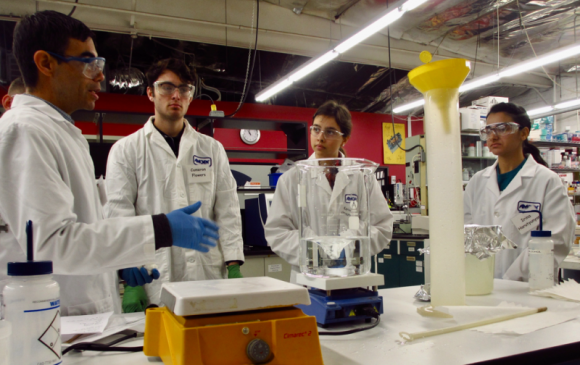
Encourage collaboration. Everyone has their strengths and their weaknesses. When it comes to content knowledge and application, use collaboration to your advantage in the classroom. Take advantage of kids’ social strengths. Encourage them to collaborate with others. Make these collaborations strategic, or don’t. Often, students are more willing to “try out” an idea with a partner or small group versus risking a mistake alone or in front of the whole class. Assign partners or ask students to work in pairs.
-
Incorporate real life. Having a real-life example can help students recognize what you’re talking about, and even better, relate to it in their own way. Using examples that are relevant to the community or culture in which you teach allows students to bring their own expertise and experience to the table.
-
Allow students to make predictions. Instead of focusing on a “final answer,” have students work to make predictions about what they think will happen (and why!). Not only does this give you a sense of how they think,but it also allows students to take small risks . Students can work through their ideas and hypotheses without being held to the right answer.
-
Share students’ observations and questions. Knowing that they are not the only one with questions, or validating a similar response, reinforces confidence in the student. After modeling or demonstrating a particular procedure or investigation, give students a few minutes to reflect on what they saw and to think about questions they have. They can also use this time to make predictions (as outlined in the previous step ).
-
Ask probing questions. During the discussion, ask students to demonstrate their understanding by answering the following questions:
-
How do you know…?
-
Where did you get…?
-
Why did you do…?
-
What does…tell you?
-
What does…mean?
-
Where on your (graph, table, diagram, etc.)…?
-
In the classroom, scaffolds may include models, cues, prompts, partner work, hints, partial solutions, think-aloud modeling and student-led investigations. Teachers may also use questions as scaffolds to help students solve a problem or complete a task. Scaffolding can be as simple as increasing the level of questioning or specificity, as this allows the student to provide a correct response and or comprehend at their own level. The ultimate goal of scaffolding is to let students be guided and supported through questioning and learning activities that serve as bridges to get them to the next level of learning and application.