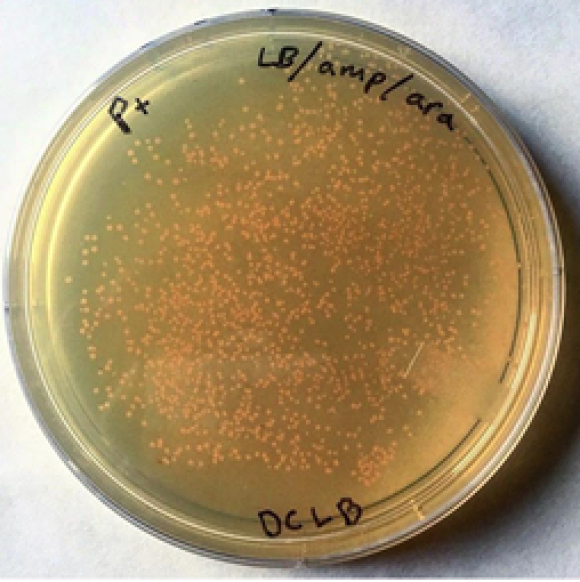
Plating is a crucial skill in biotechnology; doing it properly helps ensure better results and reduces the risk of contamination. Because students will imitate whatever they see, it is also important for adults to model good plating techniques when demonstrating!
APPLYING ASEPTIC TECHNIQUE IN LAB
- Use the “clamshell technique” for both pipetting and spreading. Open the lid as little as possible when depositing a sample onto a plate and when spreading it. Replace the lid as soon as possible
- Distribute the sterile spreaders immediately prior to use to help avoid accidental contamination. Try walking around the room with the package and asking each student to take a spreader immediately before using it.
- Use only the provided water from your kit; water from the sink poses a contamination risk.
TIPS FROM OUR LAB TECHNICIANS
- Dispense the P+ sample onto the LB/amp/ARA plate first if you are concerned about not having enough P+ cells for all three plates. However, if using this modification, it is important to spread the cells in the usual order. Spreading should be done first on the LB plate, then the LB/amp plate, and then the LB/amp/ARA plate to avoid transferring ampicillin and/or arabinose to plates without them.
- Remind students to deposit the sample over the surface of the plate; they should never dig the tip of the pipette into the agar.
- Incubate the plates with the lid side down to avoid condensation dripping onto the agar and disturbing the colonies or causing mold growth.
- To avoid heat loss, take care to open the door of the incubator as little as possible, especially with smaller incubators.
- In a pinch, a cooler filled with hot water bottles can serve as an incubator.
- Plates can be stored at room temperature for only 48 hours.
- Take photos of your best and worst plates for future reference.
Share your favorite tips and tricks for plating by tweeting to @ABEProgOffice!
